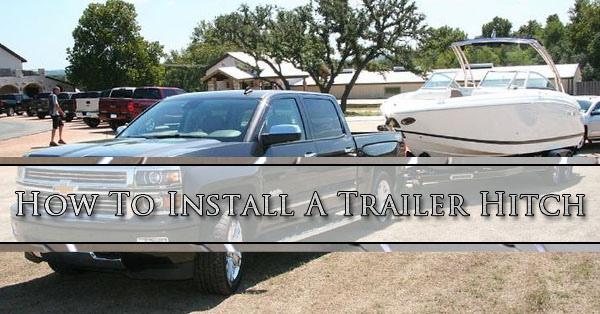
If you are searching for “How To Install A Trailer Hitch” you might have a new truck, or are looking to increase the weight you can tow. Most passenger vehicles and some half ton trucks are produced in the factory without a trailer hitch. Some owners think a hefty chain is enough to securely drag their trailers down the road. Apart from being illegal, it is unbelievably dangerous. Installing a trailer hitch isn’t expensive, and will provide peace of mind.
If have bought a new vehicle and a trailer hitch wasn’t included you can buy one and either have it installed or install it yourself. If you choose to DIY, here’s how to install a trailer hitch.
Trailer Hitch Installation
Trailer hitches generally attach directly to the chassis of the vehicle. A series of bolts are provided with the trailer hitch installation kits. Basic tools are necessary and some strength. Once the hitch is out of the package and the bolt locations are found you’ll need to get in under the vehicle and lift it up into place and tighten the bolts. Here are the step by step instructions.
- Step #1 – Set the parking brake and block up the wheels.
- Step #2 – Jack the truck up so you will have enough room to work.
- Step #3 – Set your jack stands for safety. Don’t skip; it’s your life on the line.
- Step #4 – If your hitch requires assembly before installation, get it done before you jack up your vehicle.
- Step #5 – Locate the predrilled holes for the trailer hitch. If there aren’t any holes, you will need to drill them yourself. Use the hitch itself as the template for where these holes should be drilled. Never exceed a hole greater than 1/16th of an inch. Any bigger and the bolts will not hold.
- Step #6 – Break out your C clamps and secure the hitch in place.
- Step #7 – Set and tighten all of your bolts to fasten the trailer hitch to the chassis of the vehicle.
- Step #8 – Make all wiring connections between the vehicle and the trailer. This will make you legal as your trailer lights and signals will come on as you operate your vehicle, and save you a ticket.
- Step #9 – Have a friend help you test the signals and brake lights before you set out on the road.
This guide is for standard trailer hitches. For RV trailer hitch or gooseneck trailer hitches there is additional steps and more advanced tools required. These jobs are better left to mechanics, technicians, and the professionals.
Know Your Trailer Hitch Classes
There are 5 classes of trailer hitches. Each progressive class of trailer hitch is for greater and greater weight. The trailer hitch class system starts with Class I. These are for the lightest of trailer hitch needs. Things like trailer hitch bike racks. Class II – V are for progressively heavier loads. Talk with your local trailer hitch specialist about your trailer hitch needs, the heaviest thing you will be towing. They will be able to help you choose the right trailer hitch.
Know Your Vehicle’s Limits
Man may or may not be made equal, but vehicles are not. Even trucks can have different engine sizes, cab sizes, 4 wheel drive systems, and axle ratios that affect its ability to tow. Talk to your dealer about your exactly vehicle. Many times the VIN can be used to look up specific information about your engine, axle ratio, and exact specifications so you can be 100% confident that you can tow the load. Read our guide to trailer towing basics for more information.
Trailer Hitch Installation Mesa, AZ
If you have a car or truck that needs to have a trailer hitch installed Cliff’s Welding in Mesa Arizona has you covered with a wide variety of trailer hitches and towing accessories. From lightweight loads to recreational vehicles and professional heavyweight loads we have the parts, tools, and expertise to get you on the road in a hurry.
